PPL is a leading accelerator institute in the world!
Please contact MIRRORCLE ANALYSIS CENTER
for inquiries about analysis service.
Residual Stress Measurement
Residual stress measurement inside metal components.
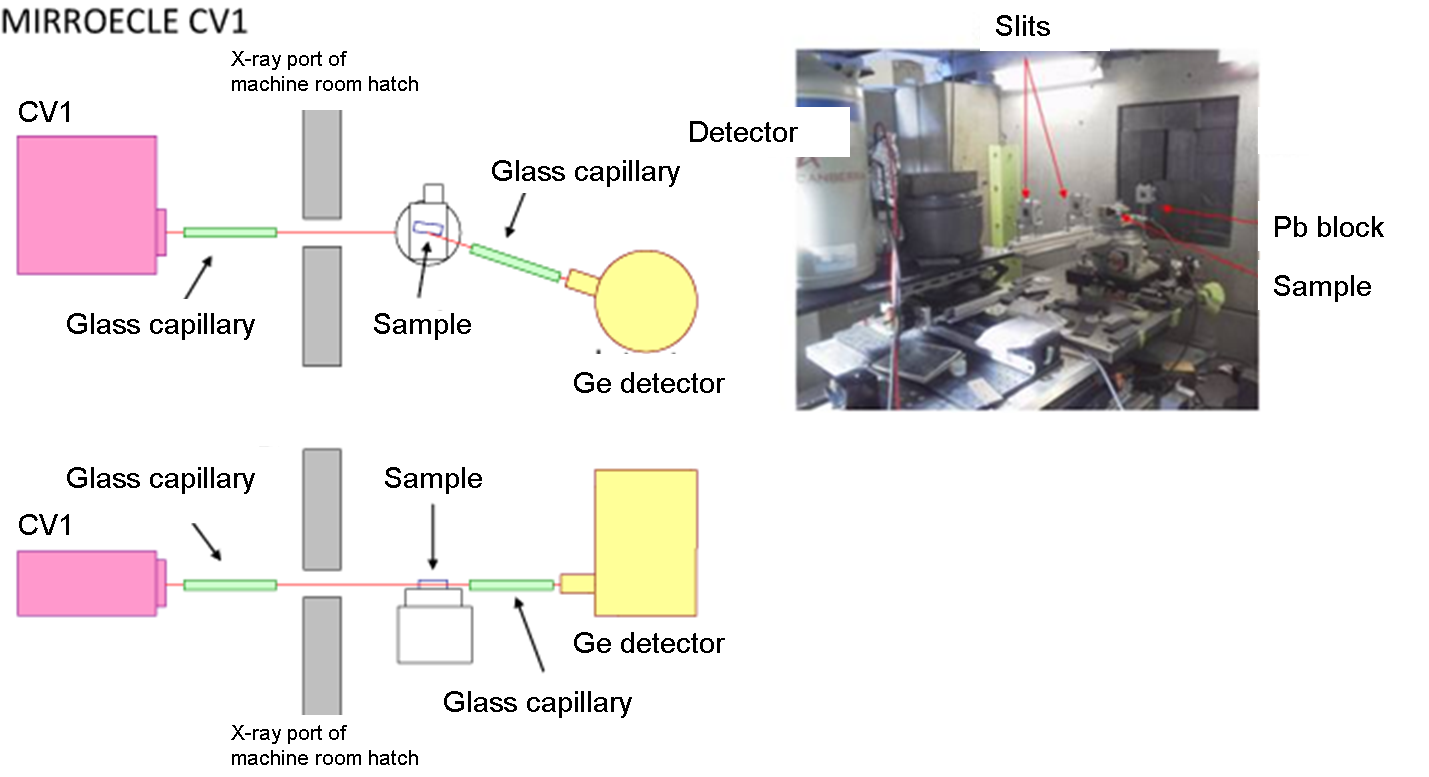
X-ray diffraction is used to measure the residual stress inside mechanical components and other building objects. MIRRORCLE uses high-energy white X-ray, which enable deep and non-destructive measurements. Furthermore, the energy dispersive method allows measuring of complex shapes.
Residual stress distribution measurement instrument apparatus:

| X-ray source | MIRRORCLE-CV1 |
|
X-ray energy |
10〜100keV |
| Optical system | Parallel optical system |
| Detector | Germanium semiconductor detector |
| Sample shape | Arbitrary |
| X-ray diameter | Less than 500μm(※) |
| Measurement region | Less than 1cm(※) |
| Maximum measurement depth | Less than 1mm for steel(※) |
| Depth resolution | Greater than 1μm(※) |
※Depends on conditions of measurement
